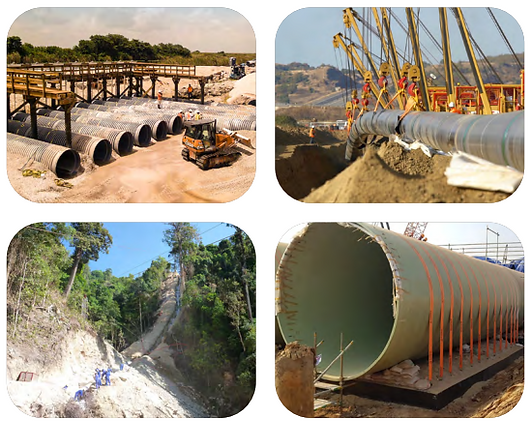
Earth Anchoring
INTRODUCTION
Platipus® Anchors are market leaders in the design, manufacture and supply of mechanical earth anchoring products. The company is renowned for providing some of the most innovative and cost-effective anchoring solutions for the Civil Engineering, Construction and Marine industries.
The percussion driven earth anchor (PDEA)® is a unique, modern and versatile device that can be quickly installed in most displaceable ground conditions. It offers a lightweight corrosion resistant anchor that can be driven from ground level using conventional portable equipment. It creates minimal disturbance in the soil during installation; can be stressed to an exact holding capacity and made fully operational immediately. As a completely dry system it also has minimal impact on the environment.

KEY BENEFITS OF THE PLATIPUS EARTH ANCHORING SYSTEM
-
Proven design solutions for buoyancy control of small& large pipelines
-
Significant time & cost savings over concrete coating/set on/bolt on weights/bags
-
Minimal environmental damage
-
Proof testing of each anchor upon installation
-
Application designed webbing for fast installation with no damage to pipes or their coating
-
Installation before or after the pipe is laid
-
No specialist installation equipment required
-
Flexible anchor selection for varying soil conditions
-
No Cathodic protection required

HOW A MECHANICAL ANCHOR WORKS
There are three steps to the installation of an anchor system:
DRIVING THE ANCHOR

REMOVING THE RODS

LOADLOCKING

STRESS DISTRIBUTION & BEARING CAPACITY
Stress distribution in front of a loaded anchor can be modeled using foundation theory. An anchor's ultimate performance is determined by the load at which stress concentration exceeds the soil's bearing capacity.
Factors that will affect the ultimate performance of the anchor include:
-
Shear angle of the Soil
-
Size of the anchor
-
Depth of installation
-
Submerged conditions
Platipus® anchors excel in granular soil, showing short load lock and extension characteristics a wide frustum of soil in front, and very high loads.
Stiff cohesive soils like boulder clays yield excellent, while weaker soils like soft alluvial clays can cause long load lock distances and a small soil frustum in front of anchor. This necessitates a larger anchor size and deeper to meet design loads.

TYPICAL ANCHOR BEHAVIOUR

STEALTH & BAT ANCHORS
The Stealth anchor offers versatile lightweight anchoring solutions. Its chisel point and streamlined shape facilitate easy installation with basic hand tools. We've created two complete sets our S6/S8 anchors, paired with our tensioners and webbing, allowing for quick installation in just minutes.


The Bat anchor is designed to achieve higher loads and also enhanced anchoring in soft cohesive soils. Its ability to accept the T-Loc lower termination allows flexibility with regard to on-site anchor assembly and choice.The installation equipment requires more powerful hand-held/machine mounted breakers and hydraulic load locking equipment.The options in this case cover four anchor head configurations and a different tensioner solution combined with a low impact webbing strap to remove both the need for cathodic protection and damage to the pipe coating.

INSTALLATION
Anchor systems can be installed using a range of light, medium or heavy installation equipment. As the requirement for anchor size and placement depth increases it may be necessary to utilise more powerful equipment.
LIGHT INSTALLATION
Drive the anchor
Remove the rods
Loadlock the anchor

.jpg)
MEDIUM INSTALLATION
Drive the anchor
Remove the rods
Loadlock the anchor
.jpg)
HEAVY INSTALLATION
Drive the anchor
Remove the rods
Loadlock the anchor
INSTALLATION INSTRUCTIONS FOR LARGE PIPELINES

Using the Platipus Power Drive Rod (PDR) drive theeanchors to the required / engineered depth usingsuitable installation equipment.
Remove the Drive Rod by hand or by using the RodRemovers (RR1) which are useful if the rod is jammedin the hole.

Using the Strap Setting Tool wrap the strap as depicted in the photograph and then loadlock and proof test the anchor using a suitable lifting device.
Thread the strap into both buckles as shown below. Place the Tensioning Tool under the strap on the pipe on one side and secure by engaging the lever / knurled cylinder against the strap. Thread the loose end into the Tensioning Bar as shown.

Tighten by hand until the strap is tight around the drum.
Place the Socket and Torque Wrench on the nut and continue to tension until tight or to the engineered torque / load setting. Remove the tool by releasing both straps, cut off strap as required. Repeat on the other buckle if required.
INSTALLATION INSTRUCTIONS FOR SMALL PIPELINES

Using the suitable Platipus® Hand Drive Rod (HDR) or Power Drive Rod (PDR) drive the Anchors into the ground to the required installation depth or so that the D-Ring is just above the surface.
You can invert the postrammer to complete the hand driving, then remove the rod by hand or by using the Rod Removers (RR1) which are useful if the Drive Rods become stuck.

Using the Platipus® Plati-Hook (PH1) loadlock the Anchor into its full working position by applying a load to the wire tendon. You can also apply an additional load by passing the drive rod through the handle with an extra person.
Thread the strap over the pipe and through each D-Ring and bring both ends to the top of the pipe. Place the tensioner on the top of the pipe and thread each strap through the frame body locators and then pass through the centre of the wheel body. Cut the excess strap off ensuring all the play is removed in the system first.

Leave about 5cm/2 inches each side, then rotate the wheel by hand until the straps tighten together.
Place the Tension Lever (TL1S / TL2S) on the tensioner and tighten until satisfied, ensuring that the locking pin is fully located after the final adjustment, cut any surplus material away.